Pre-Wiring for Power: Electrical Requirements for Motorized Blinds and Shades
Updated: Aug 14, 2026
Planning a home remodel? Learn the essential motorized blinds wiring requirements for your space. We cover why hardwiring is the recommended option, how to pre-wire for success, and the best ways to control your new automated shades for a smarter, more convenient home.
If you are currently drawing up floor plans in Edina, or watching your Woodbury home remodel get stripped down to the wooden studs, it's the perfect time to pre-wire for motorized blinds. Getting this done before your drywall crews arrive to seal up your walls is absolutely vital.
Here at Loch Monster Electric (LME), we love helping folks in the Twin Cities with their smart home automation. Before you finalize your layout, let’s talk about how planning for your window treatments early can save you a mountain of headaches later.
In this guide, we will walk you through the electrical requirements, power supply options, wiring best practices our electricians follow, and ways to control your automated shades.
If you’re ready to get motorized, call us at 763-292-1191 or fill our contact form and we’ll get through to you.
Why Motorize Your Window Coverings?
Adding automated shades to your home is more than just a high-tech trick. It is a very practical home upgrade. Let's look at why so many local homeowners are choosing them before we talk about wiring.
- Protecting Tall Windows: Do you have tall windows in a historic Summit Avenue estate, a St. Paul loft, or a home overlooking Lake Minnetonka? Opening and closing heavy shades by hand can be tough without a tall ladder. Motorization lets you control them with just a simple button.
- Child and Pet Safety: Hanging cords on old-school blinds are dangerous for small kids and curious pets. Automated shades do not have any cords. This removes the safety risk completely.
- Preventing Damage: Pulling manual cords unevenly can damage the delicate parts inside custom blinds. Electric motors raise and lower your shades smoothly every time. This helps your shades last much longer.
- Boosting Home Value: High-quality motorized shades are a permanent upgrade. They are one of the few custom features that can raise your property’s resale value.
How Motorized Blinds Get Their Power: Choosing Your Setup
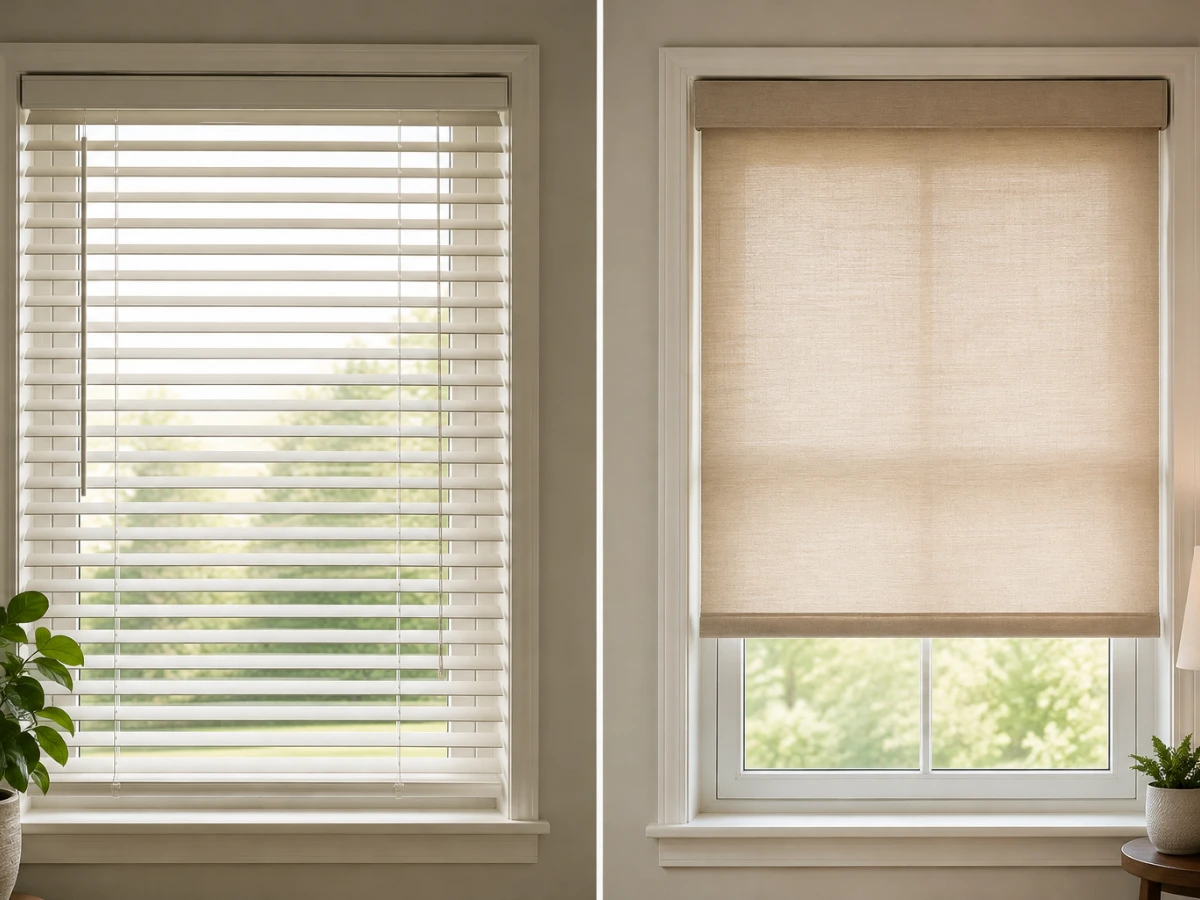
The secret to motorized blinds is an internal motor tucked inside the shade roller tube. Like any mechanical device, this motor needs electricity. You have three main paths for delivering that power: wired systems, battery systems, or solar power.
1. Wired Power (Hardwired vs. Plug-In)
Wired power is the ultimate set and forget choice because it hooks up directly to your home's main electrical grid.
- Hardwired Systems: This is our recommended option because it connects directly to your home’s electrical system. An electrician runs thin, hidden wires behind your walls before the drywall is hung. There are no exposed cords, and you never have to replace or recharge a battery.
- Plug-In Systems: If your walls are already finished, you can run a power cord from the shade down to the nearest standard electrical outlet. While this is simple to set up, it can look a bit untidy and uses up valuable wall outlets.
2. Battery Power Options
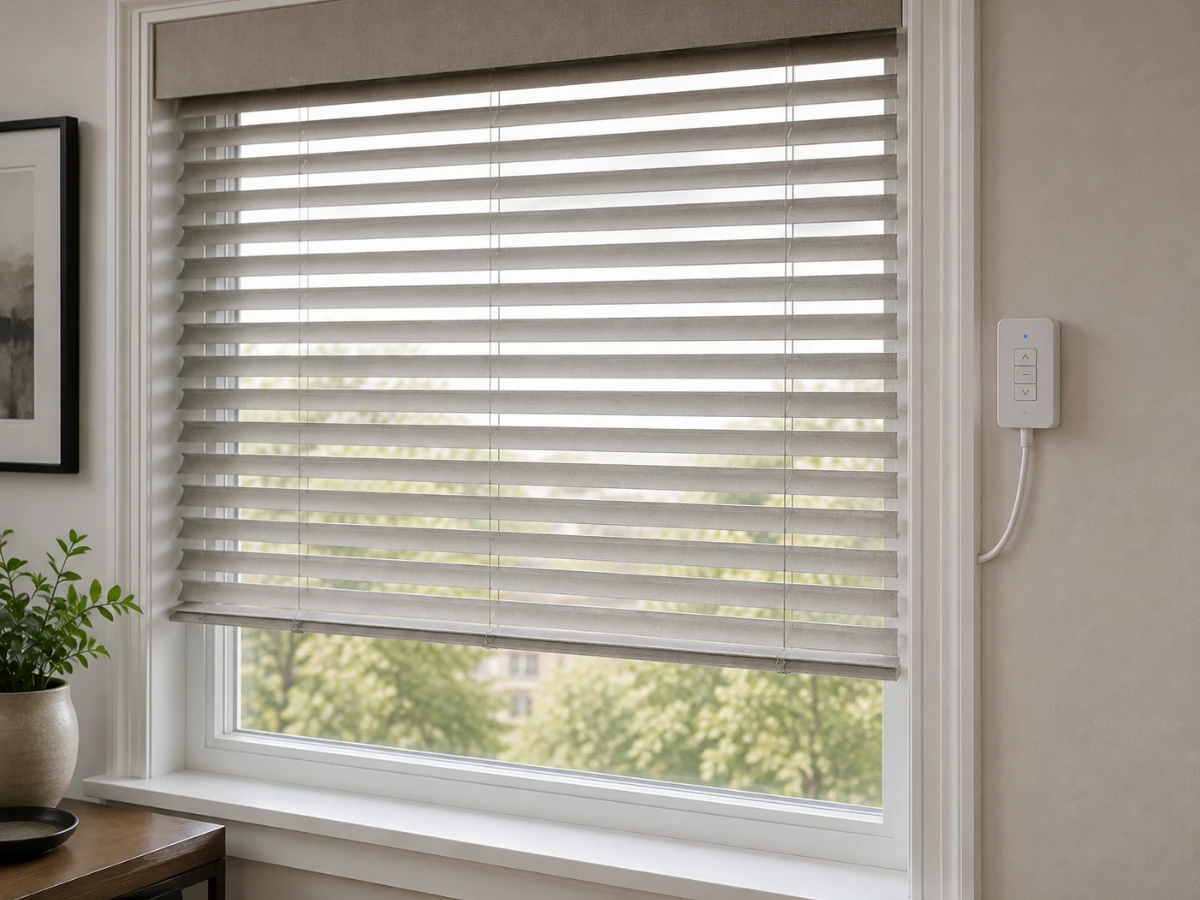
Battery systems are highly popular, especially for quick retrofits where opening up the walls is not an option.
- Built-In Rechargeable Batteries: These batteries are completely hidden inside the shade headrail. Depending on how often you use them, you will need to plug a charging cord into the shade for about 5 to 6 hours once or twice a year.
- External Battery Wands: These use replaceable lithium or AA batteries housed in a tube mounted behind the shade. They are easy to swap out but can become expensive over time if you have many windows to manage.
3. Solar Power
Solar setups use a small, sleek solar panel mounted inside the window frame behind your shade. This panel trickles power into a rechargeable battery throughout the day.
While this sounds perfect, solar is best for light-to-medium shades that only move once a day. Because our Minnesota winters bring shorter days and grey skies, solar systems might not get enough direct sunlight to keep up with heavy daily use.
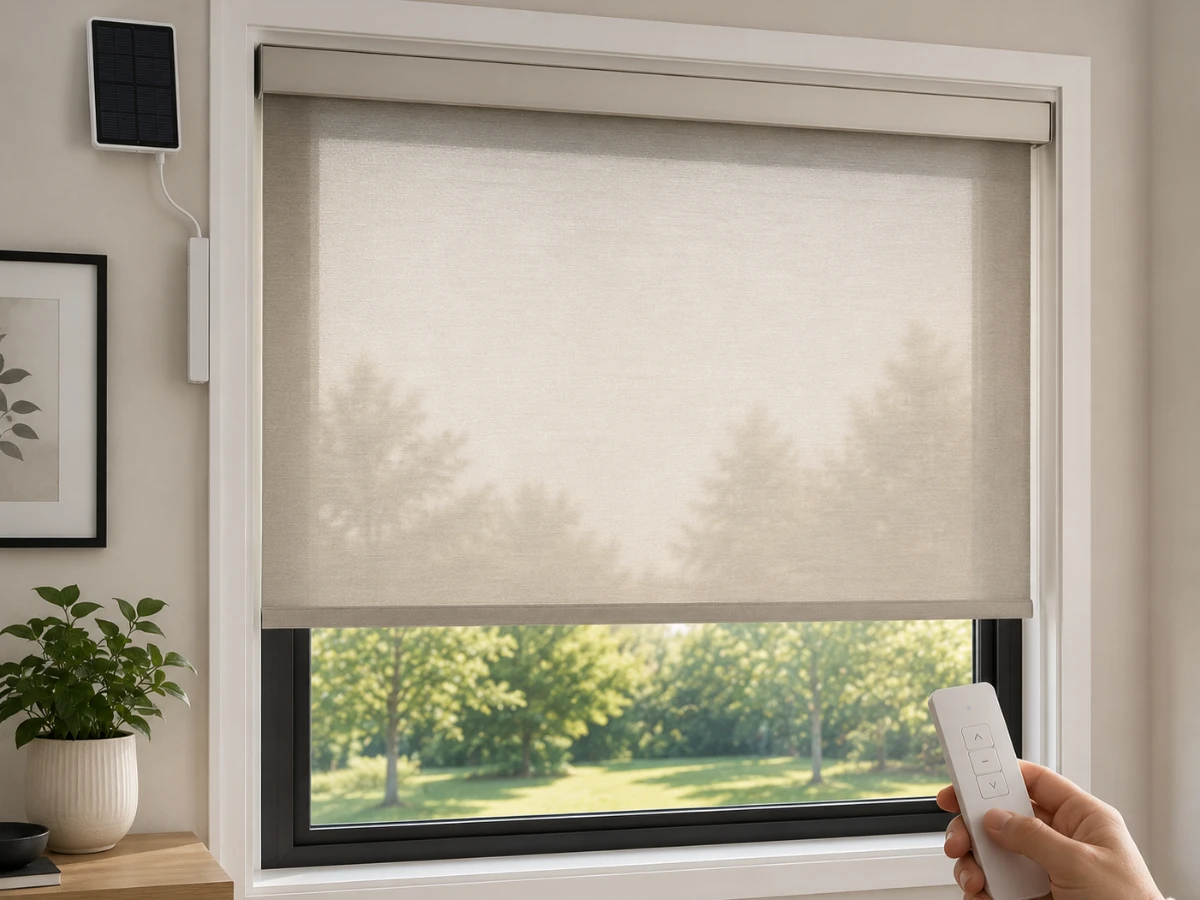
Understanding Motorized Blinds Wiring Requirements
If you decide to hardwire your shades during a remodel, you need to know basic wiring requirements for motorized blinds. This will help make sure your shades run quietly and reliably.
Where the Power Starts and How It Travels
Let's trace how power travels from your main electrical panel right to your window frame. We don't plug messy power adapters into your living room outlets. Instead, we run one dedicated wire from each window back to a central power supply located in your basement or mechanical room.
- The Starting Point (The Outlet): The power source is a standard 120-volt wall outlet. This outlet is usually tucked away in a basement utility closet or equipment rack.
- The Central Power Box: We plug a multi-channel power panel into this outlet. This box takes the strong 120-volt household power and converts it to safe, low-voltage 12-volt or 24-volt power. This power supply can safely send electricity to 5, 10, or even 20 window shades. It keeps your walls clean and makes maintenance easy. You can even add a backup battery to keep your shades working during a winter power outage.
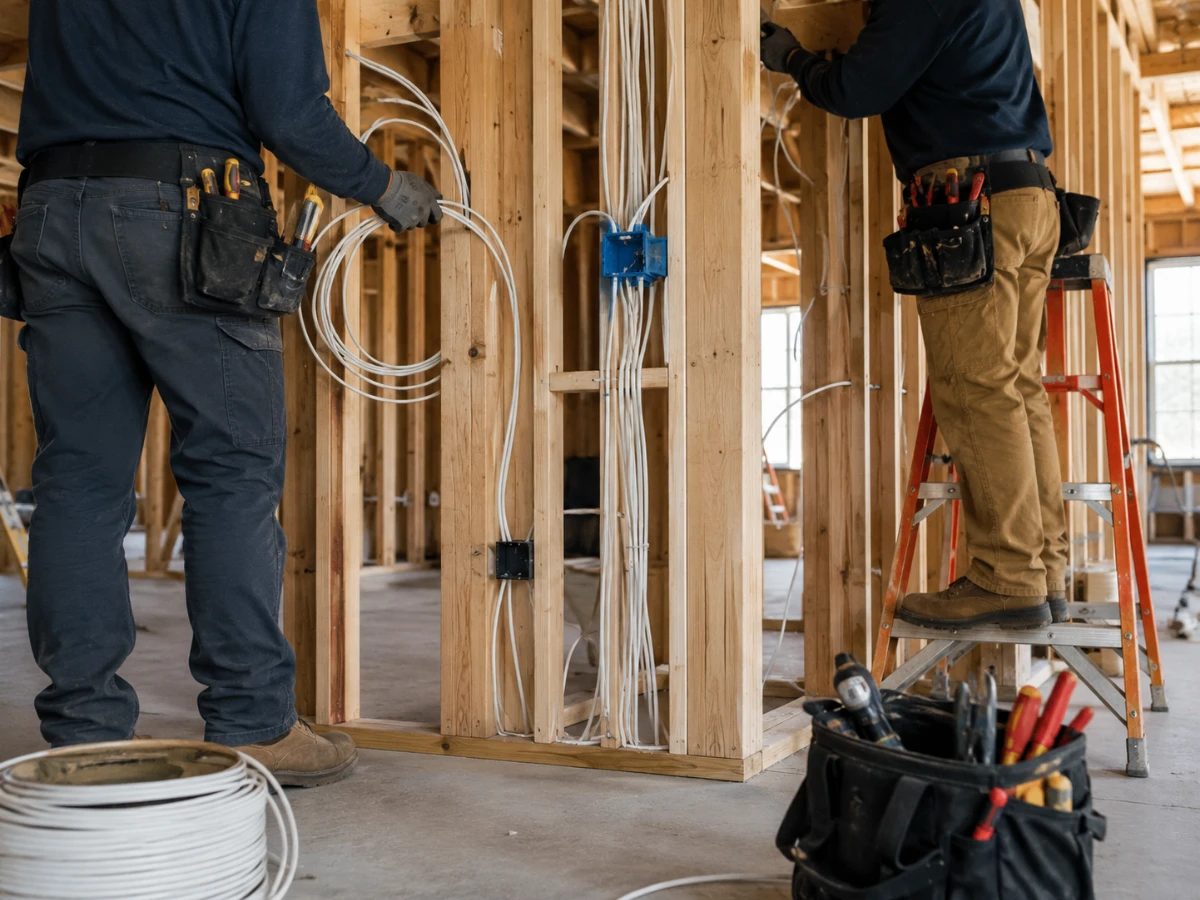
- The Direct Wire Run: We run individual low-voltage wires through your wall studs to each window. Each line is direct, with no hidden splices or joints inside your walls.
- The Ready-to-Plug Wire: At the top corner of the window frame, we leave a small 12-to-18-inch loop of wire. This is called a pigtail. It tucks into a tiny hidden pocket, ready to plug into your shade motor when construction ends.
To find out how remodeling electrical wiring upgrades fit into your other home automation goals, check out our smart home wiring services.
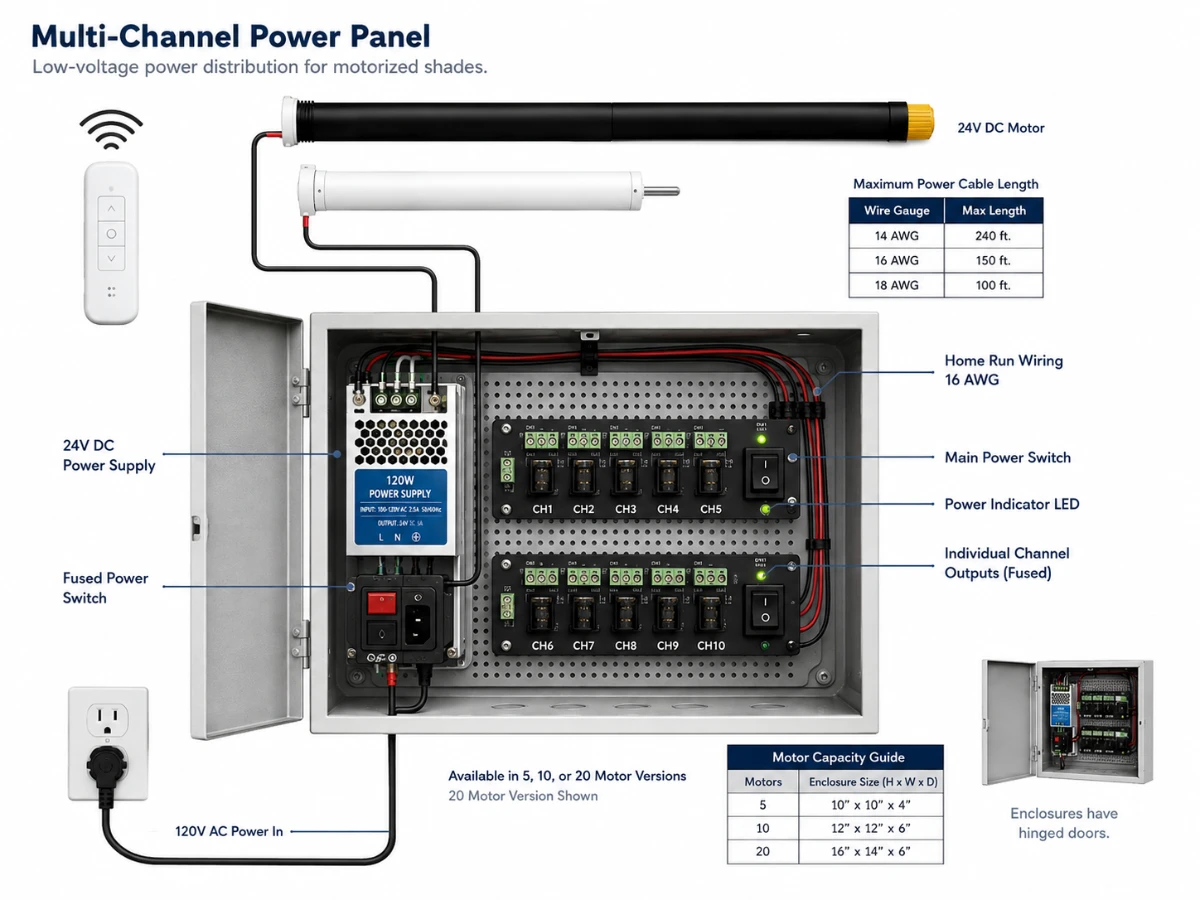
Low Voltage (DC) vs. Line Voltage (AC)
Most home installations utilize direct current (DC) motors running on either 12-volt or 24-volt DC power. These systems are incredibly safe, energy-efficient, and run on thin wires that are easy to route through standard wall studs.
Alternating current (AC) line voltage (110-volt AC) is generally reserved for extremely large, heavy window coverings like massive commercial draperies. For standard home use, we highly recommend low-voltage DC setups.
Selecting the Right Wire Gauge: 16/2 vs. 18/2
When planning your low-voltage smart shade wiring, selecting the proper wire thickness (also known as the gauge) is key. We typically use two-conductor copper wire of two different thicknesses of this cable, depending on the distance of your run:
- 18/2 Wire: This is the standard choice for shorter runs. It is ideal when the distance between your central power panel and the window frame is under 50 feet.
- 16/2 Wire: This thicker cable is necessary for longer runs between 50 and 150 feet. Using a thicker copper wire reduces electrical resistance over long distances. This prevents a drop in voltage, which can make your shade motors run slowly, struggle, or stall completely.
Electrical Wiring Best Practices for Motorized Shades
Whether you are an architect planning a new house in Wayzata or a homeowner managing a kitchen remodel in Edina, coordinating the pre-drywall wiring stage is critical. At Loch Monster Electric, we follow these best practices to make sure your motorized blinds wiring requirements are perfect the first time.
Protecting the Wires
During the pre-drywall wiring stage, we run the cables through the studs and leave them inside the window headers. A common issue occurs when drywall installers accidentally slice or bury these wires. To prevent this, our team secures the wire ends inside a protective housing, leaving a pigtail loop of about 12 to 18 inches.
Labeling
When you have 10 or 20 wires coming back to a central panel, they all look the same. Labeling them at the hub makes the install go much faster and helps identify which wire goes to which window.
Documentation
We take clear photos and measurements of every wire location before insulation and drywall are installed. This simple step ensures we know exactly where every wire is tucked away once the walls are closed.
Leaving Room for Connectors
Another common mistake is forgetting that the physical connectors joining your wall wire to the shade motor take up space. If these connections are too bulky, the shade cassette cannot fit flush inside your window trim. We solve this by planning a small, specialized recess in the corner pocket of the window frame, keeping everything completely flat and hidden.
Controlling Your New Motorized Shades
Once your power system is in place, you need to decide how to control your automated shades.
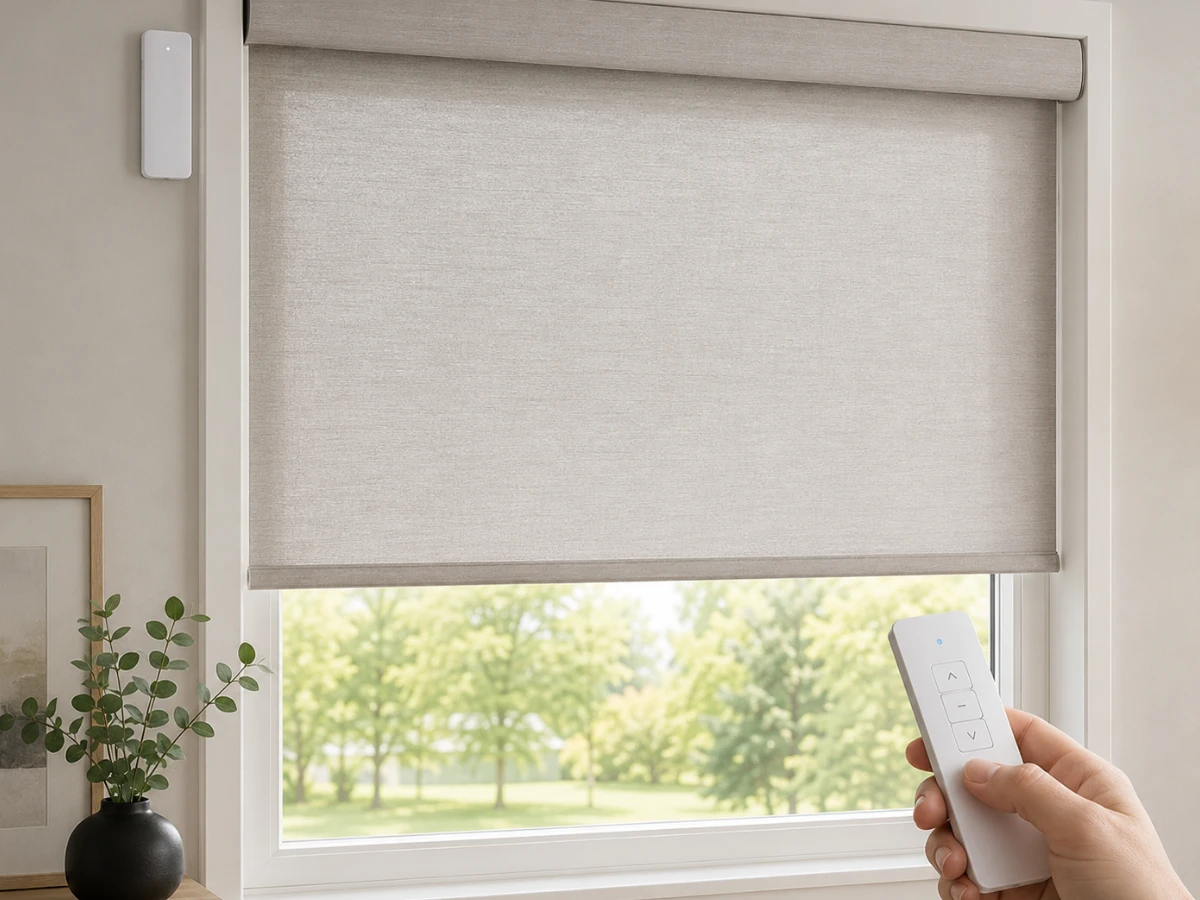
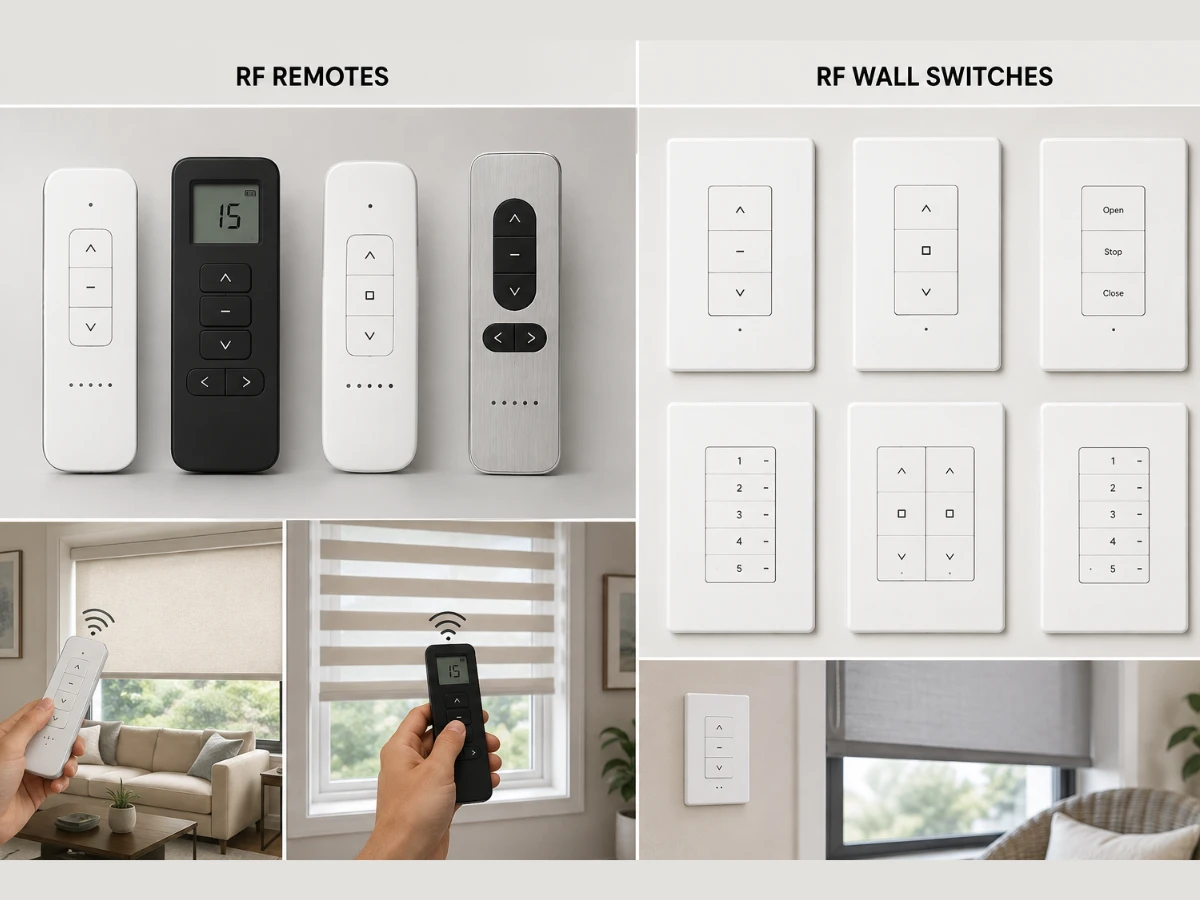
- RF Remotes: Most systems run on radio frequency (RF) signals. A single remote can control all the shades in a room at once, or a multi-channel remote can control each window individually from up to 65 feet away.
- Wall Switches: You can install wireless wall switches that look just like standard light switches, so you never have to hunt for a lost remote.
- Schedules and Sensors: You can set your shades on a timer to open and close automatically. You can even install sun sensors that lower the shades when the hot afternoon sun hits your south-facing Linden Hills sunroom. This can help to keep your home cool and lower your energy bills.
- Smart Hubs: A smart hub acts as the main control for your automated blinds. We install this next to your power supply for the motorized blinds. After it connects to your home's Wi-Fi network, you will be able to control your shades through a phone app or with voice commands using Amazon Alexa or Google Home.
Why Choose LME for Your Smart Window Treatments Power Supply?
At LME, we care about bringing reliable quality and a neighborly touch to every project. We understand the unique build styles of Twin Cities homes, and we work hand-in-hand with local builders, architects, and designers to ensure your pre-wiring is done perfectly the first time.
If you want to start your next remodeling project with total peace of mind, head over to Loch Monster Electric to schedule an estimate or call us at 763-292-1191 today. Let's make sure your home is wired for comfort and long-term convenience!
Frequently Asked Questions
For standard 18-gauge wire, the power and signal will typically remain strong up to 50 feet. If the distance between your central power panel and the window frame is between 50 and 150 feet, we install thicker 16-gauge copper wire to prevent power drops that can cause your motors to drag or stall.
No, the shades themselves do not need the internet to get power or to be operated by a standard hand remote. However, if you want to control them using an app on your phone, set up automatic timers, or use voice control, you will need a smart hub connected to your home Wi-Fi.
Line voltage is typically reserved for exceptionally wide, heavy window treatments, like motorized outdoor patio screens or heavy commercial draperies. Standard home blinds run safely and efficiently on low-voltage DC power.
The absolute best time to reach out is during your design phase. At the very latest, you should contact us during the pre-drywall wiring stage, after framing is complete but before insulation and drywall are installed. This allows us to run all your low-voltage lines quickly and affordably.
Yes! If your drywall is already finished and painted, built-in rechargeable battery shades are an excellent alternative. They completely eliminate the need for wiring and only need a quick charge via a plug-in wall cord once or twice a year.