
Testing Roof & Gutter Heat Trace Cables Before the First Heavy Snow
Updated: Nov 6, 2026
This guide covers testing gutter heat trace cables before winter, including how ice dams form, a cable inspection checklist, GFCI outlet and GFEP breaker tests, multimeter and thermostat checks, gutter cleanup, and professional heat cable repairs for Twin Cities homeowners.
It’s a gray January morning. You’re ready for your coffee, there’s two feet of snow on the roof, and then you spot it: a brown water stain spreading across the living room ceiling. You head outside to find a thick ridge of ice along the gutter. The heat tape you put up a few winters back is stone cold. It had quietly failed last spring, and nobody noticed.
Whether you’re in Eden Prairie, or Shoreview, you should be testing gutter heat trace cables before the snow starts falling. In this guide, we’ll cover how ice dams form, how to check the cables, how to test your GFCI outlets and breakers, and when it’s time to bring in a pro.
At Loch Monster Electric, we’re licensed electricians serving homeowners across Minnesota and Wisconsin, and we troubleshoot roof de-icing cables every fall. If you’d rather skip the ladder, give us a call at 763-292-1191 or fill out our contact form, and we’ll get you on the schedule.
How Ice Dams Form on Minnesota Rooftops
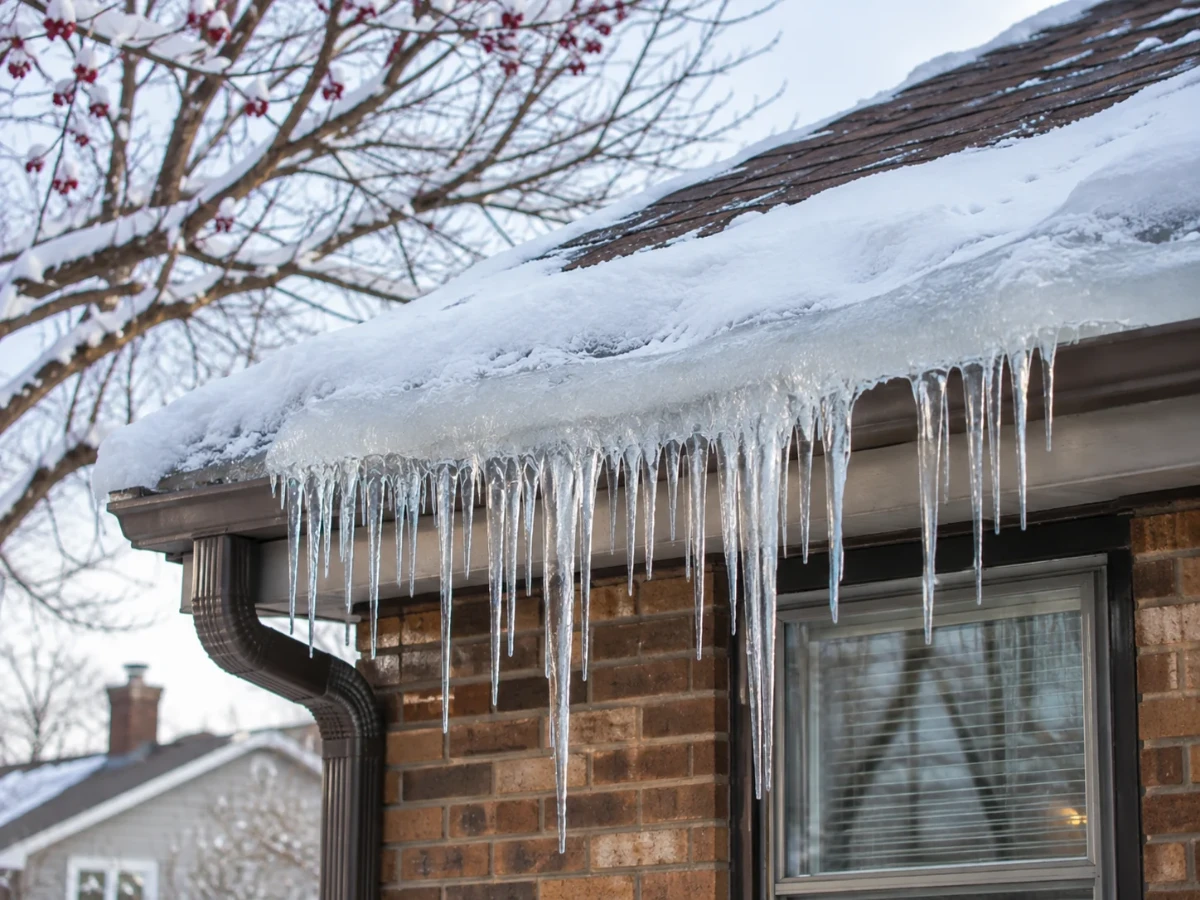
Twin Cities winters are notorious for causing ice dams. When heat from your living room leaks into the attic, it starts warming the roof deck. Then snow on the upper roof starts to melt, even on a 15-degree day. That meltwater runs down to the eaves, which hang past the warm part of the house and stay cold. Once it gets there, it freezes into a ridge of ice.
Every melt makes that ridge a little bigger. Soon, water pools behind it and works its way up under the shingles. From there, it can drip into the attic, soak the insulation, stain ceilings, and rot wall framing over time. Older homes in St. Paul sees this a lot, since their tight attic spaces are tough to insulate and vent well.
What Heat Trace Cables Do
Roof and gutter heat trace cables don’t stop snow from melting. Their job is to keep a path open so meltwater can drain off the roof instead of backing up. That only works if the cable heats up when it’s supposed to, which is why testing before the first heavy snow is your best option.
Physical & Electrical Inspection Checklist for Checking Heat Trace Cables
A pair of binoculars from the yard works, but a ladder gets you up close for the best view.
Step 1: Before you climb up or touch the cable, unplug it or switch off its breaker at the main panel. You can turn the power back on later for the GFCI tests.
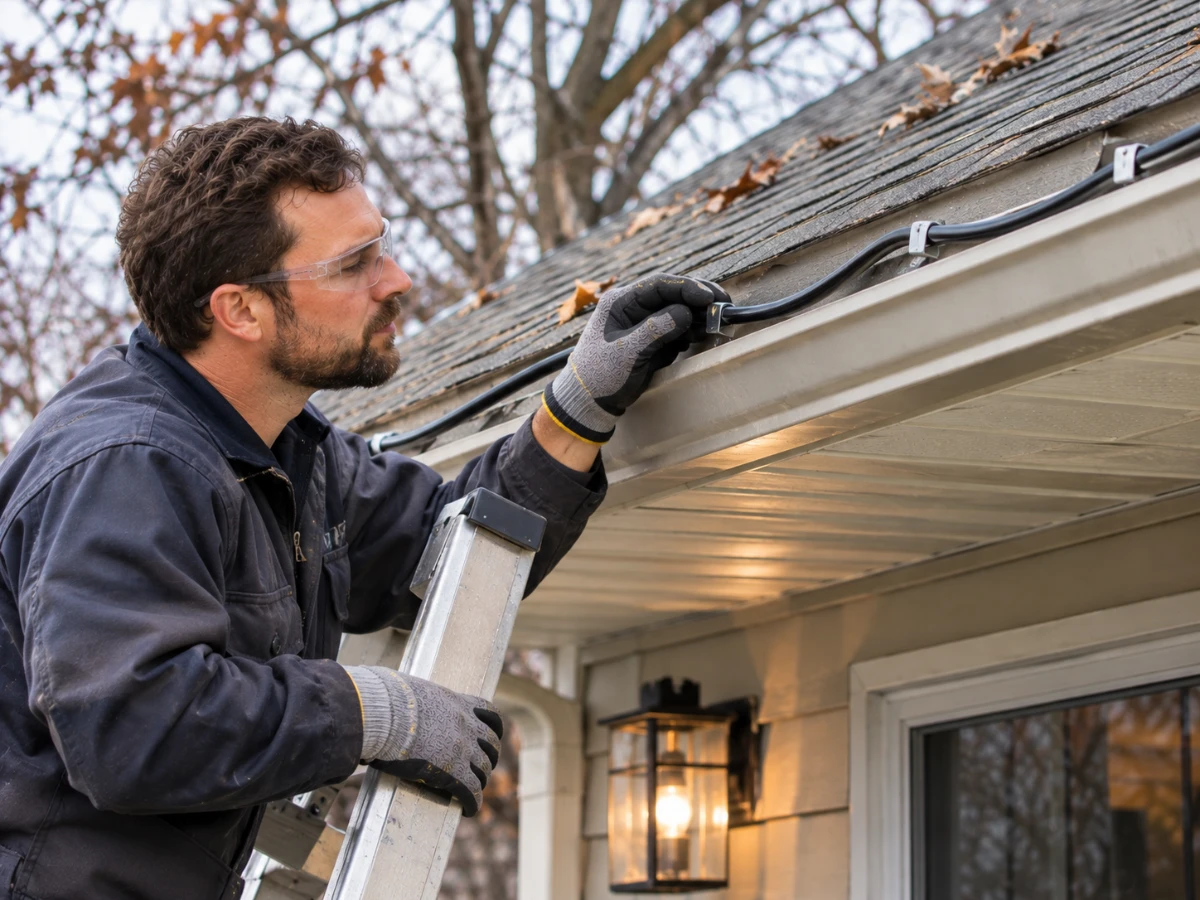
Step 2: Follow every run of your cables along the eaves, roof valleys, gutters, and downspouts while keeping an eye out for these red flags:
- Sun-bleached or cracked jacket: A few hot summers can leave the outer coating faded, chalky, or brittle from the UV rays.
- Rodent chew marks: Squirrels and mice love to gnaw on cables near the roofline, and even a small nick can let water in.
- Crushed or kinked sections: Heavy ice, ladders, and roof rakes can flatten the cable and damage the wires inside.
- Missing or broken roof clips: Loose cable sags, slides, or blows out of place, leaving gaps where ice can build up.
Step 3: Follow the cable into each downspout. It should run all the way down and come out the bottom. If it stops halfway, meltwater can freeze in the lower section, create an ice plug, and even split the pipe.
Step 4: Make sure the cable never crosses or overlaps itself. With most constant-wattage heat tape, crossed runs trap heat and can melt the jacket or burn out the cable completely.
This heat trace cable check is one piece of a bigger fall routine, and our pre-freeze exterior electrical maintenance guide covers getting your outdoor outlets, grounding, conduits, and garage feeders inspected and sorted before winter arrives.
Testing GFCI Outlets & Panel Breakers for Heat Trace Cables
Heat trace cables sit in snow and meltwater all winter, so they need ground-fault protection. Plug-in heat tape for gutters should use a weather-resistant GFCI outlet, which protects people from shocks. Hardwired roof de-icing cables need an equipment ground-fault (GFEP) breaker, which guards against fires and cable damage. Both cut power when electricity leaks from a damaged cable.
How to Test the GFCI Outlet
Press the TEST button. It should click off. Then press RESET to bring power back. If it won’t trip or won’t reset, replace it before winter.
How to Test the GFEP Breaker
Step 1: Open your main electrical panel and look for a label like ‘heat tape’, ‘roof’, ‘gutter’, or ‘de-ice’. A GFEP breaker is usually wider than a regular breaker and has a small TEST button on it. If you don’t see it there, check for a separate control box near where the cables connect (basement, garage, or attic). If you can’t find it, call an electrician.
Step 2: Once you find it, make sure the breaker is on and press TEST. The handle should snap to the middle or OFF position. To reset it, push the handle all the way to OFF, then back to ON. If it won’t trip or won’t stay on, have an electrician replace it before winter.
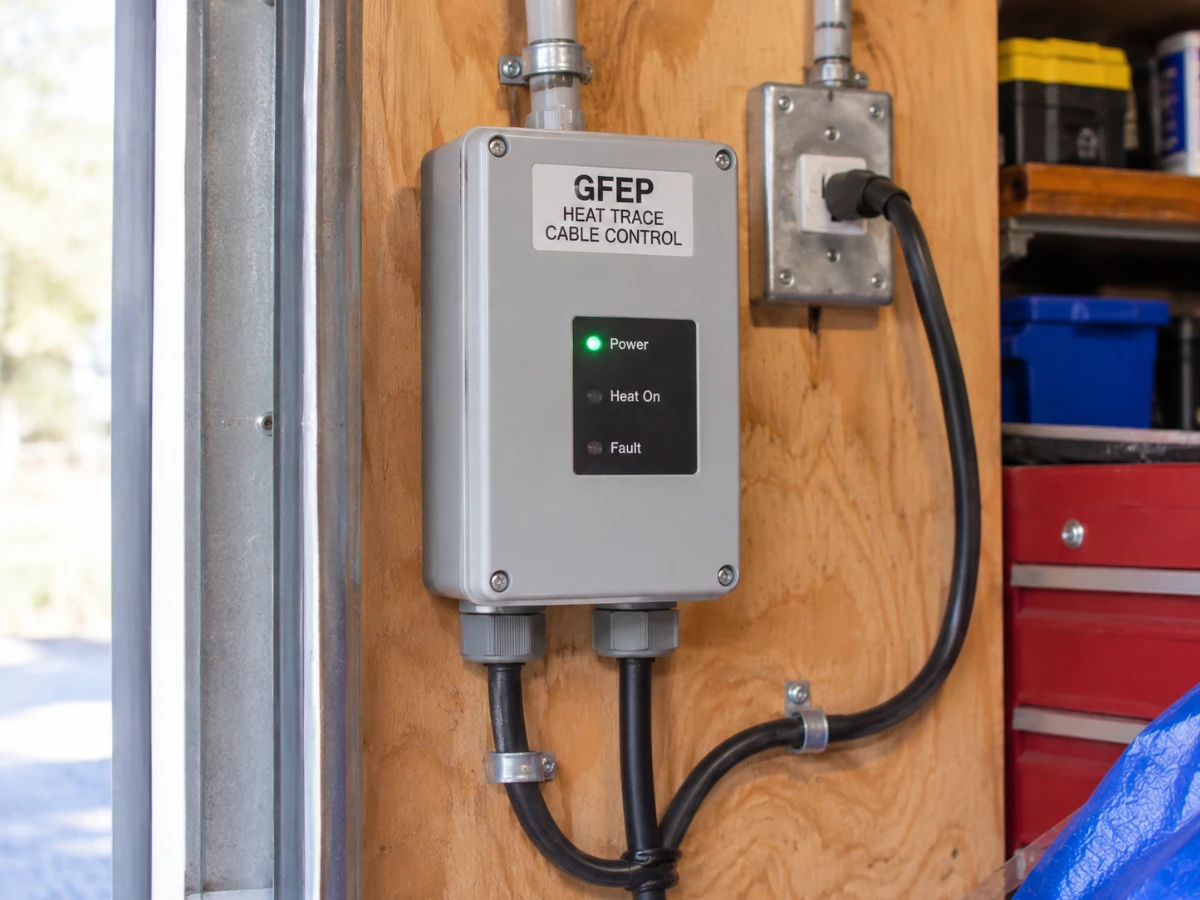
If the GFCI or GFEP breaker trips the second you power up, or right after rain or melting snow, that usually means a ground fault. Don’t keep resetting it, and call an electrician to replace it. Our article on why your GFCI keeps tripping explains other common causes and what fixes usually cost.
How to Check With a Multimeter
If you have a digital multimeter, you can do the following:
- Check the outlet’s voltage: Test the GFCI outlet. It should read close to 120 volts.
- Check the cable’s resistance: Unplug the cable first, since testing a live cable can damage your meter. Test across the two flat prongs. An “OL” or open reading usually means a broken heating wire.
- Check the cable for ground leaks: With the cable still unplugged, test between each flat prong and the round ground pin. Both should read open. Any number means failing insulation.
A basic multimeter only tells so much. Electricians use a special insulation tester, called a megohmmeter, which can find weak spots a regular meter misses.
How to Check the Heat Cable Thermostat
Many plug-in heat cables have a small thermostat built into the plug or cord. Hardwired systems use an outdoor sensor connected to a controller. Most turn the cable on around 38°F. To test yours, plug in the cable and hold a bag of ice against the thermostat or sensor for 5 to 10 minutes (check your manual first). The cable should start to warm up.
Clearing Gutters & Downspouts Before Powering Heat Cables
By November, gutters fill up with leaves, pine needles, and seed pods, especially around wooded lots in places like White Bear Lake. Before you power up your de-icing cables, make sure you do the following:
- Clear out all debris: Wet leaves trap heat and keep the cable from melting a drain path. Dry leaves packed around a hot cable can become a fire risk.
- Test the flow with a hose: Run water at the far end of each gutter and make sure it drains out the downspout and away from your foundation.
- Fix slow drains: Find and clear any clogs before the first hard freeze.
While you’re checking things off your fall list, our electrical inspection checklist guide walks through everything a full home inspection covers, from panels and grounding to GFCI and AFCI protection.
Professional Cable Testing with Loch Monster Electric
Some fixes are quick, and some need a licensed electrician. Here’s what Loch Monster Electric brings to heat trace systems across the Twin Cities:
- Professional cable testing: We use insulation testers to find faults a basic meter misses, then replace the damaged cable run.
- Code-compliant ground-fault protection: If your heat tape runs off an extension cord or an unprotected outlet, we install a dedicated exterior GFCI circuit. For hardwired cables, we add a GFEP breaker or a controller with built-in GFEP. Visit our
GFCI and AFCI installation servicesto learn more. - Self-regulating cable upgrades: We can replace older constant-wattage tape with self-regulating heat cable, which adjusts its heat to the weather for lower energy use and less risk of overheating.
- Honest Time & Materials billing: You only pay for the actual time and parts your job needs.
- Whole-home peace of mind: Want a full look at your wiring while we’re there? Our
residential electrical inspection servicesinclude panel audits, safety checks, and a clear written report.
Keep Your Roof Ready for Winter
A little fall testing now can save you a ruined ceiling, soggy insulation, and a costly insurance claim later. Inspect your cables, test your ground-fault protection and thermostat, clean out the gutters, and replace worn-out heat tape before the snow piles up.
If you’d rather leave the roof and the wiring to a pro, Loch Monster Electric is the licensed electrician Twin Cities homeowners trust to test, repair, and upgrade roof de-icing systems. Call us today at 763-292-1191 to get your heat trace cables ready for winter.
Frequently Asked Questions
The easiest sign is a melted path along the eaves and gutters after a snowfall while the cable is on. Many plug-in kits also have an indicator light near the plug. If snow and ice sit untouched on the cable during a cold snap, test the outlet and cable, or have an electrician check it.
If your system has a thermostat or controller, it’s usually designed to stay plugged in and turn on only when needed. Cables without one can run nonstop and use a lot of power. For example, a 100-foot cable at 5 watts per foot draws 500 watts, or about 12 kilowatt-hours a day. Always follow the manufacturer’s instructions.
Plugging a listed de-icing kit into an existing GFCI outlet usually doesn’t need one. Adding a new outdoor circuit, outlet, or hardwired controller does, since most electrical work in Minnesota requires a permit and inspection through your city or the Department of Labor and Industry.
That pattern almost always points to moisture getting into a damaged cable, a worn plug, or an outlet without a proper in-use cover. The GFCI is doing its job by cutting power. Have the cable and outlet tested instead of resetting it over and over.
It depends on the product and how it’s cared for. Basic plug-in tape may only last a few seasons, while quality self-regulating cable can last much longer. Either way, testing gutter heat trace cables every fall is the best way to catch problems early.
Not on their own. Heat cables keep drainage paths open, but the real cause of ice dams is heat escaping into the attic. Better attic insulation, air sealing, and ventilation fix the root problem, and heat cables add a strong second layer of protection.